How to Download and Install a Digital Certificate Onto Your iPhone
How to Download and Install a Digital Certificate Onto Your iPhone
Introduction
This article provides step-by-step instructions for downloading and installing a Digital Certificate on your iPhone.
If this is not the solution you are looking for, please search for your solution in the search bar above.
Guidelines
You can watch the following video for a tutorial.
How to Install a Digital Certificate on Your Apple iPhone
After you download your Certificate from your PC, you may export it and send it to your email along with the Intermediate and Root Certificate.
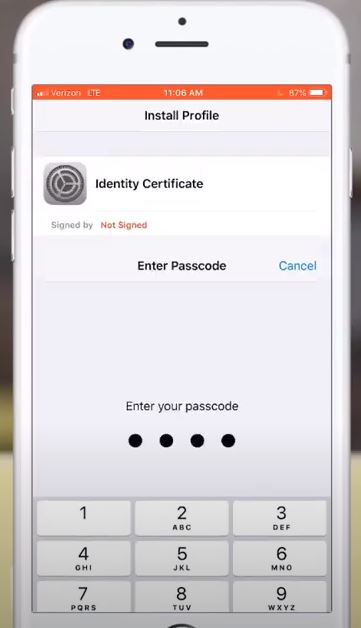
Once you've received it on your phone, start installing the Root Certificate.
Hit install, and you will receive a message to continue to install.
It will change to "Verified" if you install it properly.
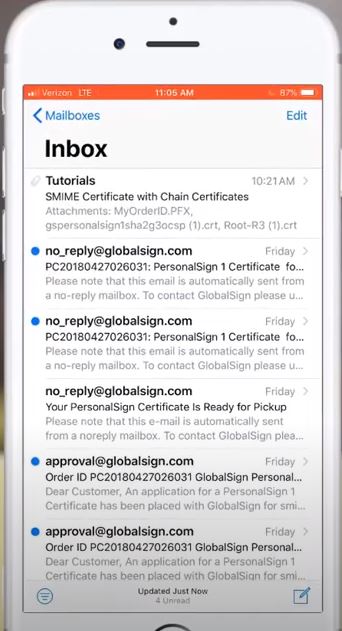
Now install the Intermediate Certificate using the same process.
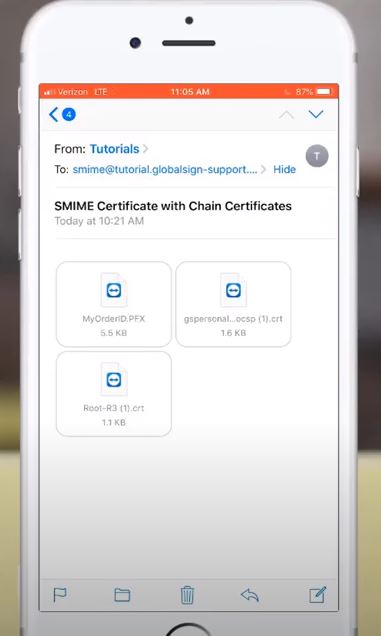 Now, install your PersonalSign Certificate. It will ask for your private key password (this is the password that was auto-generated when you downloaded the Certificate.)
 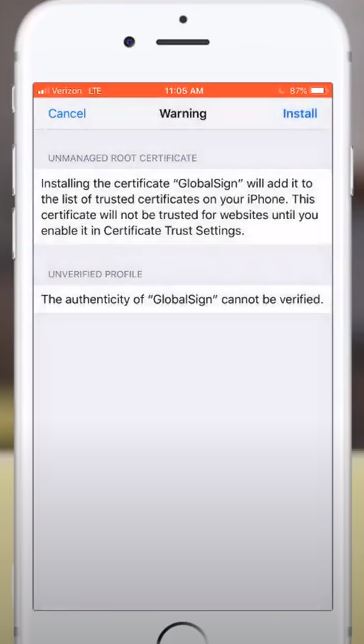 Now go to Settings >Profiles.
Under Profiles, you will find three profiles.
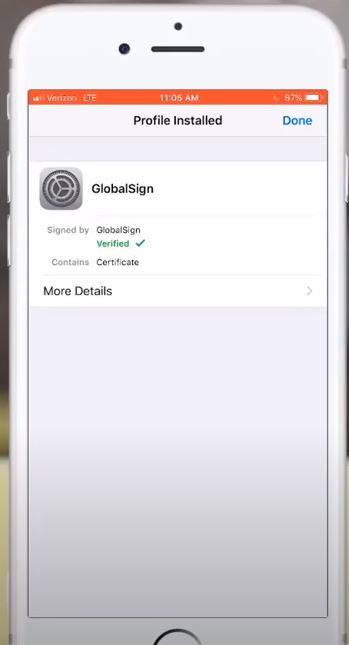 Now go to your account and passwords.
Select the email account for which you are installing the Certificate. 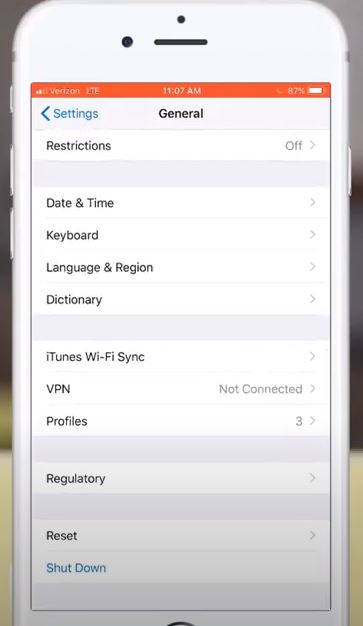 Go to Advance. Then, scroll down to S/MIME and enable it.
Make sure "Sign" is turned on and the certificate selected.
After that, make sure you close all. 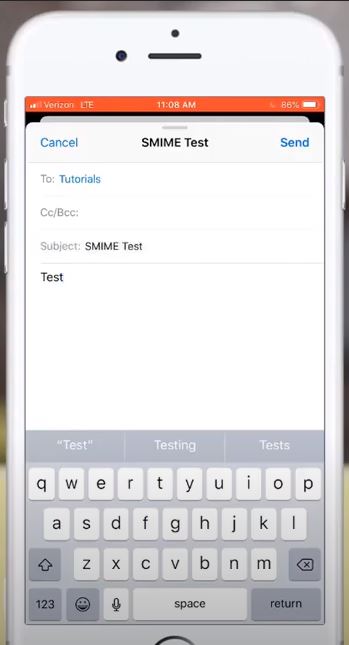
How to use it
- When you create an email, there's no need to select anything; just write your message and hit Send.
- If everything was done correctly, look at your sent email, and you will see a blue tick.
- Click the blue check, and you can view the certificate and see that it's trusted.
